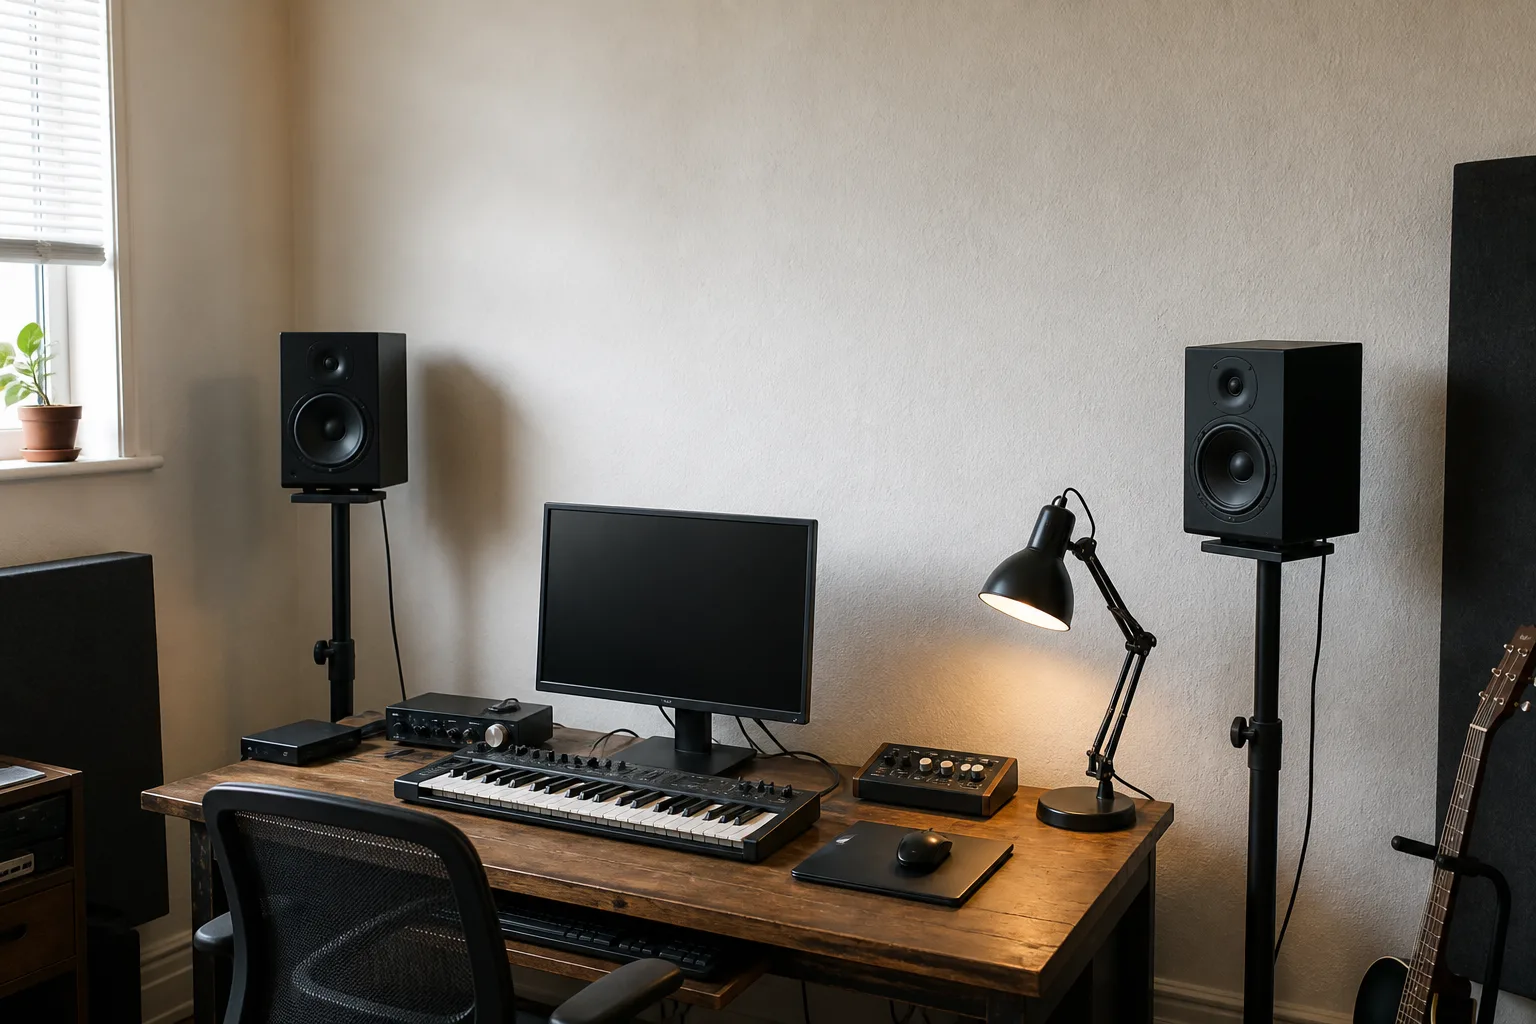
There is no single correct distance between a speaker and the wall behind it. The best position depends on the speaker, the room, the listening position, and the frequencies that the speaker can reproduce.
For a small room, the most useful starting point is often closer to the wall than you might expect, while keeping the clearance required by the speaker manufacturer. An awkward middle distance can place a strong wall-reflection cancellation directly in the bass range you need to judge. Moving the speakers very far into the room can also work, but many home studios simply do not have enough space.
So do not begin with a universal rule such as “30 cm is correct” or “one meter is always better.” Begin with the manual, use equal left and right distances, test several positions, and listen or measure from the actual listening position.
Why the wall changes what you hear
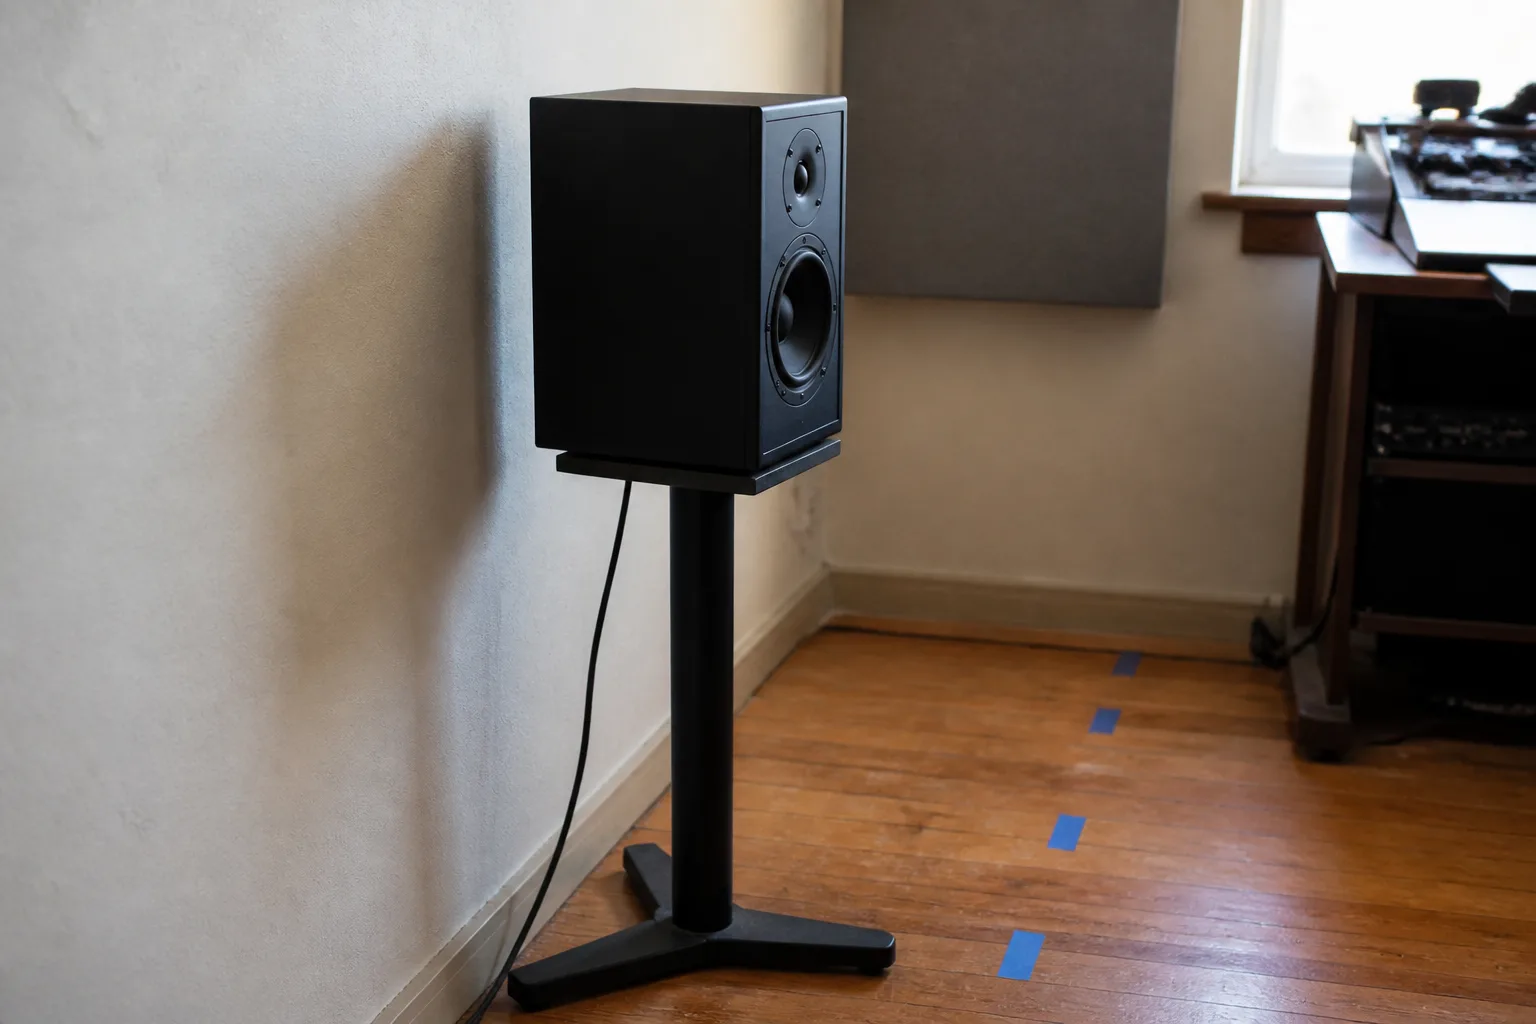
A loudspeaker sends sound toward you, but low-frequency energy also reaches the wall behind the speaker. The wall reflects some of that energy back into the room. The reflected sound travels a longer path than the direct sound before it reaches your ears.
At some frequencies, the direct and reflected waves arrive out of phase. They partially cancel each other and create a dip in the response. This effect is commonly discussed as speaker-boundary interference, or SBIR.
The important point is that changing the speaker-to-wall distance changes the path length of the reflection. That moves the cancellation to a different frequency. A small physical adjustment can therefore change the bass balance even though the speaker, amplifier, and mix remain exactly the same.
Genelec's official explanation of backwall cancellation gives a useful example: when the front of a monitor is 86 cm from the wall, the first cancellation is approximately 100 Hz. That number is an example of the acoustic relationship, not a recommended distance for every monitor.

Why an intermediate distance can be troublesome
People often assume that pulling speakers farther from the wall must always improve accuracy. The real result is more complicated.
When a monitor is close to the wall, the first backwall cancellation moves upward in frequency. The wall may also increase the apparent low-frequency level. That increase can sometimes be reduced with the monitor's boundary or room-compensation control.
When a monitor is much farther from the wall, the first cancellation moves lower. If the speaker produces little energy at that frequency, or if the reflected sound becomes weak enough relative to the direct sound, the problem may be less audible.
The difficult region is often between those two useful extremes. The speaker is far enough from the wall to place a cancellation in an important bass octave, but not far enough for the reflection to become insignificant. This is why moving a monitor only halfway into a small room can produce less bass clarity rather than more.
Genelec advises that, for its free-standing monitors, the distance from the wall to the front baffle should typically be less than 0.6 m when using the close-wall approach. It also describes placement below 20 cm as one way to push the cancellation higher, with low-frequency compensation used as needed. These are manufacturer guidelines for Genelec systems, not universal dimensions. Your own speaker manual takes priority.
Does a rear bass port require a large gap?
A rear port does need space to operate, but “rear-ported speakers must be far from the wall” is too broad to be useful.
The required clearance depends on the cabinet and port design. Genelec's guidance specifies at least 5 cm of clearance for the rear reflex port on the monitors covered by its setup advice. Another manufacturer or model may require a different gap, so check the manual before moving a cabinet close to the wall.
Port location also does not remove the larger boundary-reflection problem. A front-ported or sealed speaker still radiates low-frequency energy into the room, and the wall behind it can still affect the response. Port direction matters, but it is not the only factor.
If close placement produces too much bass, use the speaker's boundary, desktop, or room-compensation setting if one is provided. A calibration system can also help reduce broad low-frequency buildup. However, equalization cannot reliably fill a deep cancellation caused by destructive interference. Raising that frequency may add more energy to both the direct and reflected sound while the two continue to cancel at the listening position.
A practical way to find the distance
You do not need to calculate a perfect position before moving anything. Use a controlled process that makes each change easy to compare.
- Read the speaker manual first. Find the minimum wall or port clearance and any recommended boundary-compensation setting.
- Keep the setup symmetrical. Place the left and right speakers the same distance from the front wall and, when possible, from the side walls. Unequal boundaries can pull the stereo image to one side.
- Record how you measured. For acoustic comparisons, use the same reference point each time—usually the front baffle. Also record the rear clearance so you do not violate the manufacturer's requirement.
- Start with a practical close position. If the manual allows it, begin near the wall rather than choosing an arbitrary middle distance. Leave the required ventilation and port clearance.
- Move both speakers in small equal steps. Changes of roughly 5 to 10 cm are easy to repeat. Mark promising positions with removable painter's tape.
- Listen from the real working position. Use familiar reference tracks with steady bass notes, kick drum, bass guitar, and low male or female vocals. Do not judge while standing behind the desk.
- Measure if you can. A frequency sweep and measurement microphone can reveal a broad peak or deep dip that is difficult to identify by ear. Measure again after each meaningful move.
- Recheck level and toe-in. After changing position, confirm that the speakers remain the same distance from the listening point and are aimed consistently.
Do not search only for the position with the most bass. The goal is bass that changes smoothly from note to note and supports reliable decisions. A slightly leaner but more even response is usually more useful than a dramatic low end with missing notes.
The listening position matters too
Speaker distance is only one part of the system. Moving the chair can change the response as much as moving the speakers because the listening position interacts with room modes and reflections from every boundary.
Avoid sitting exactly halfway between the front and rear walls as an automatic default. That position can coincide with strong modal problems in many rectangular rooms. It is better to test a few practical listening positions and then rebuild the left-speaker, right-speaker, and listener geometry around the best candidate.
For stereo monitoring, maintain equal distances from both speakers to the listening position. Neumann's monitor acoustics and application FAQ recommends aiming the acoustic axes at the listening position and using equal signal timing and distances. Those fundamentals help preserve a stable center image while you compare wall distances.
Plan the alternatives before moving the room
In a simple bedroom studio, it is easy to move two small monitors and a chair. In a larger studio, rehearsal room, classroom, or venue, speaker positions may interact with doors, furniture, audience areas, treatment panels, and sight lines.
The SolAudioLab Acoustic Planner lets you build and review a room in 2D and 3D, place speakers and listening positions, and compare practical layout alternatives in the browser. Use it to record candidate positions and check whether a layout is physically workable before moving heavy equipment.
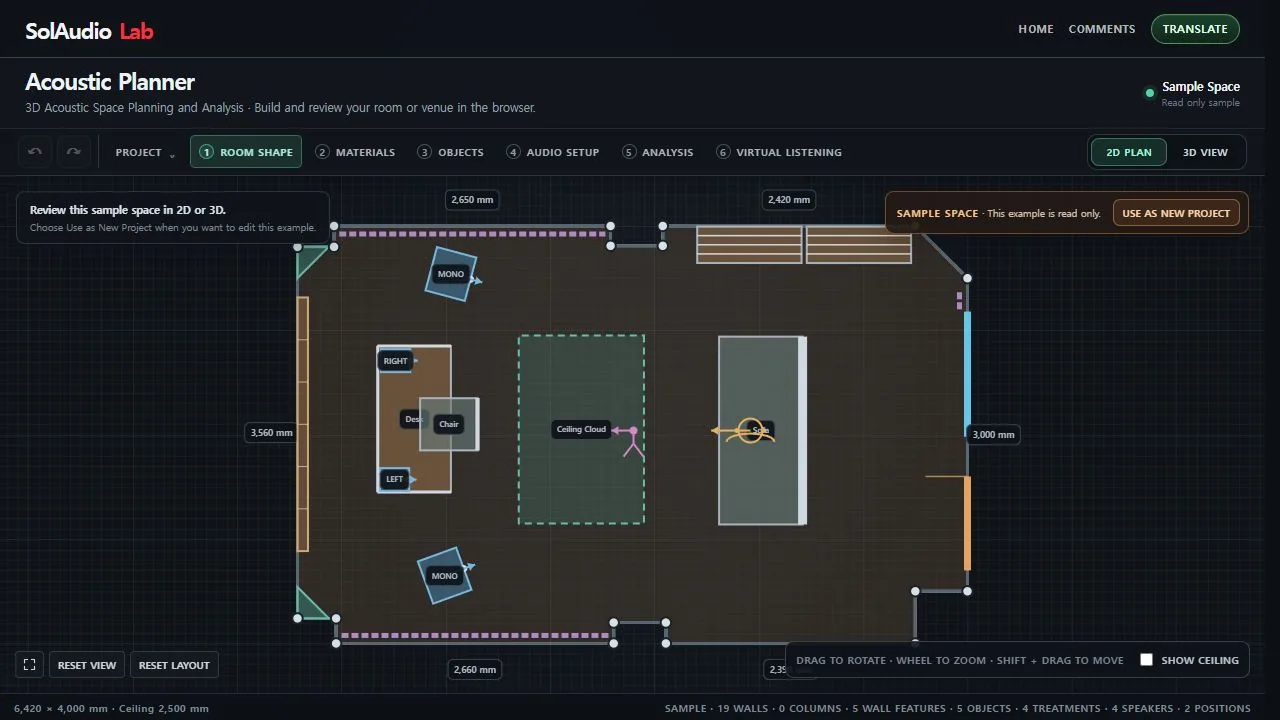
The planner provides design estimates, not acoustic measurements. Confirm important decisions by listening and, where possible, measuring the completed room. Its value is that it makes distances, symmetry, furniture conflicts, and alternative layouts easier to see before the final test.
Common situations
A very small desk studio: Start with the monitors relatively close to the wall if the manual permits it. Keep the left and right distances equal, isolate the speakers from the desk or use stands, and compare the manufacturer's boundary-compensation settings.
A larger control room: You may have enough depth to test a genuinely free-standing position. Do not assume that moving the speakers 20 or 30 cm forward is enough. Test distances systematically and include the listening position in the process.
Speakers placed directly on a desk: The wall is not the only reflecting surface. The desk can create additional comb filtering, especially through the midrange. Raise or angle the monitors so that the tweeters aim correctly and reduce the strength of the desk reflection where possible.
A room where furniture cannot move: Preserve symmetry first, follow the minimum clearance, and test the positions that are realistically available. Treatment and calibration may improve the remaining problems, but they should follow good physical placement rather than replace it.
The short answer
There is no universal speaker-to-wall distance. In many small rooms, placing monitors close to the wall—while maintaining the manufacturer's required clearance—can be more predictable than leaving them at an arbitrary intermediate distance. In a large enough room, a much greater distance may also work.
Use the same measurement reference, keep both speakers symmetrical, move them in repeatable steps, and judge every change from the listening position. Let the speaker manual set the safety limits, let listening and measurements identify the better response, and use the Acoustic Planner to keep the layout practical.