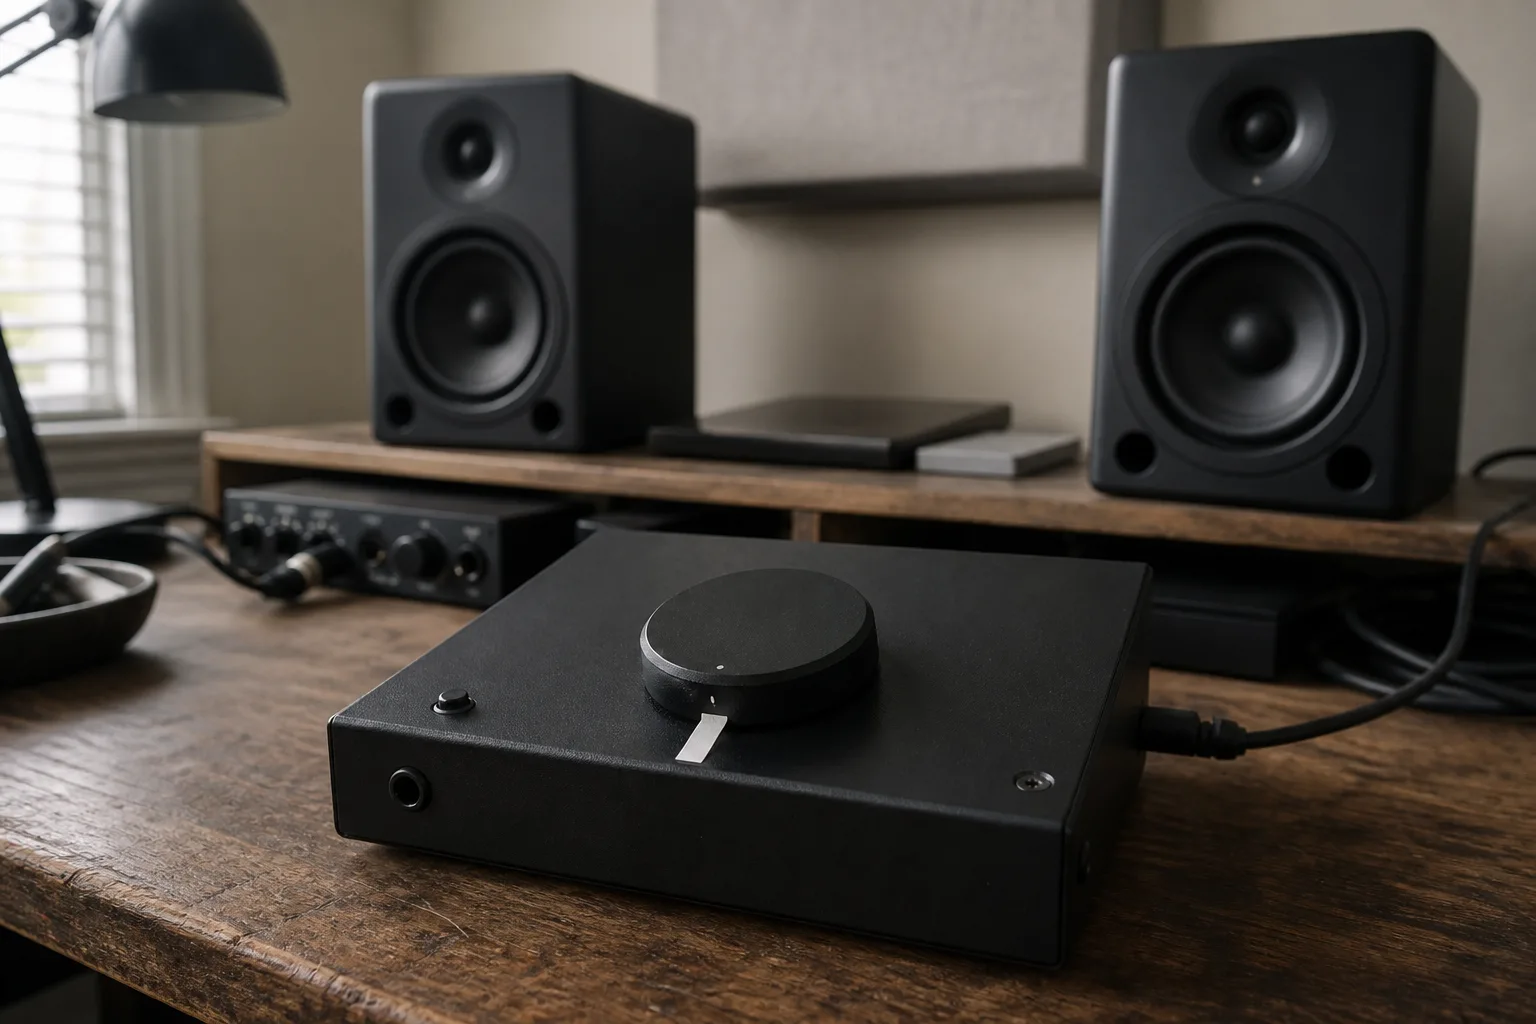
The mix has not changed. Your hearing has.
At a low playback level, bass and very high frequencies feel less prominent, while the midrange—including vocals—stays comparatively easy to hear. Turn the volume up and the low end feels fuller, but harsh upper mids, sharp cymbals, and heavy compression can also become more obvious.
That does not mean you should keep changing the EQ every time you move the volume knob. The most reliable approach is simpler: choose one repeatable reference level for mix decisions, then use quiet and loud playback only as short diagnostic checks.
Other volumes reveal problems. Your reference level decides whether the mix needs to change.
Why volume changes the tonal balance you hear
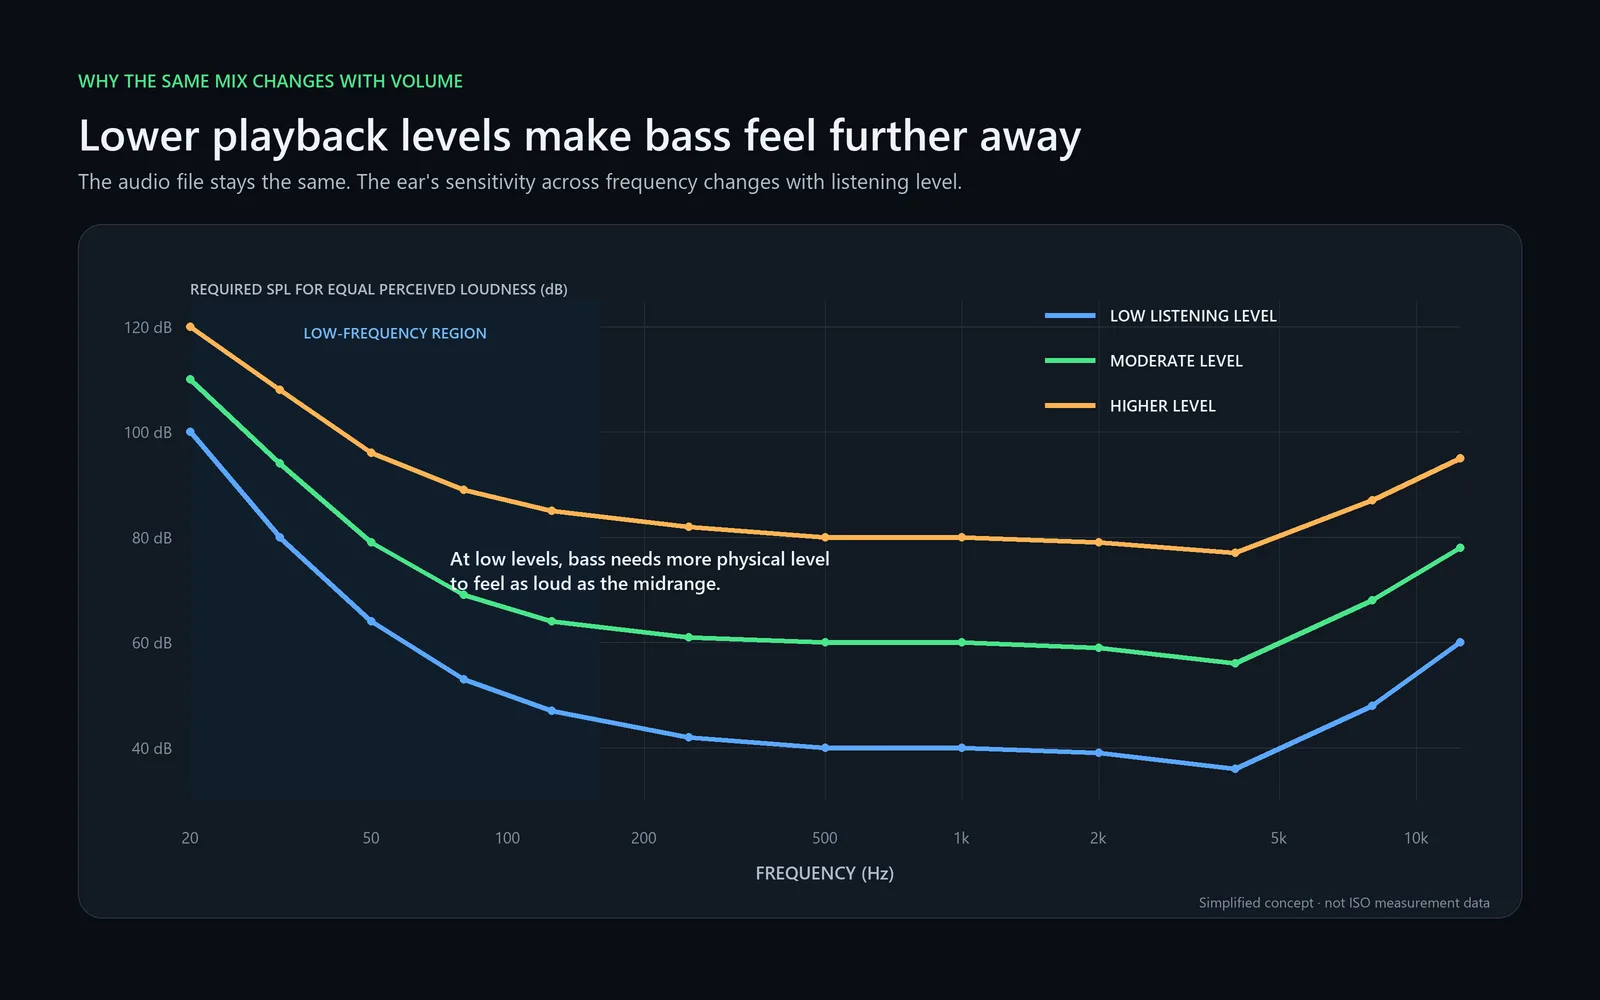
Human hearing does not respond equally to every frequency at every sound level. This is described by equal-loudness contours.
At quieter listening levels, low frequencies need considerably more physical sound pressure than the midrange to be perceived as equally loud. The ear is also less sensitive to the extreme top end. Frequencies in the broad midrange remain easier to detect, which is one reason speech and lead vocals can appear unusually forward when a mix is played very quietly.
As the listening level rises, the perceived frequency balance becomes flatter. Bass feels more complete, cymbals gain presence, and the whole mix may seem more exciting. At the same time, excessive upper-mid energy, limiting, distortion, and dense arrangements may become tiring faster.
The important point is that the audio file itself has not changed. The relationship between playback level and human hearing has changed what you perceive.
The current international reference for normal equal-loudness contours is ISO 226:2023. The standard is based on controlled listening conditions and pure tones, so it is not a direct prediction of every real mix in every room. It does, however, explain the central problem: a tonal judgment made at one level will not sound identical at every other level.
The EQ trap: correcting the same mix in opposite directions
Imagine that you are mixing at a very low level. The kick and bass seem weak, so you boost the lows. Later, you turn the speakers up. The bass now feels too large, and you cut it again. Then you reduce the level, notice that the mix has become thin, and repeat the cycle.
The same thing can happen at the top end. A quiet mix may appear dull, leading to a treble boost. At a louder level, the cymbals and vocal consonants become uncomfortable, so the treble is cut. The mix begins to follow the monitor knob instead of a stable listening reference.
This is why “make it sound perfect at every volume” is not a useful instruction. A mix should remain understandable across different playback levels, but it cannot have exactly the same perceived tonal balance at all of them. Human hearing prevents that.
The practical goal is consistency: make your detailed tonal and balance decisions from the same known listening condition, then use other levels to ask specific questions.
How to choose a practical reference listening level
A reference level does not need to turn a home studio into a calibrated cinema room. It needs to be comfortable, repeatable, and useful for the room and speakers you actually have.
1. Choose one master volume control
Use one physical monitor controller, audio-interface knob, or reliable digital monitor control. Avoid changing several gain stages during the session. If the DAW master, interface output, speaker gain, and operating-system volume all move independently, you no longer have a repeatable condition.
2. Play a familiar, well-balanced reference track
Choose a professionally released track you know well and that is relevant to the work. Match its perceived loudness to your mix before comparing tone. A louder reference will usually seem fuller, clearer, and more impressive even when its balance is not actually better.
3. Raise the level gradually from quiet
Start low and increase the volume until the low end is clearly present, the vocal and snare feel natural, and you can hear detail without the presentation becoming exciting merely because it is loud. You should be able to work at this level for a meaningful period without strain.
If you have an SPL meter, an average listening level around 70–80 dB SPL at the listening position can be a useful starting region for nearfield monitoring. It is not a universal target. Room size, speaker distance, programme material, measurement method, and working duration all matter. Genelec’s monitoring guidance also notes that listening level affects perceived response and describes 70–80 dB SPL as an average range in a calibrated monitoring context.
4. Mark the position
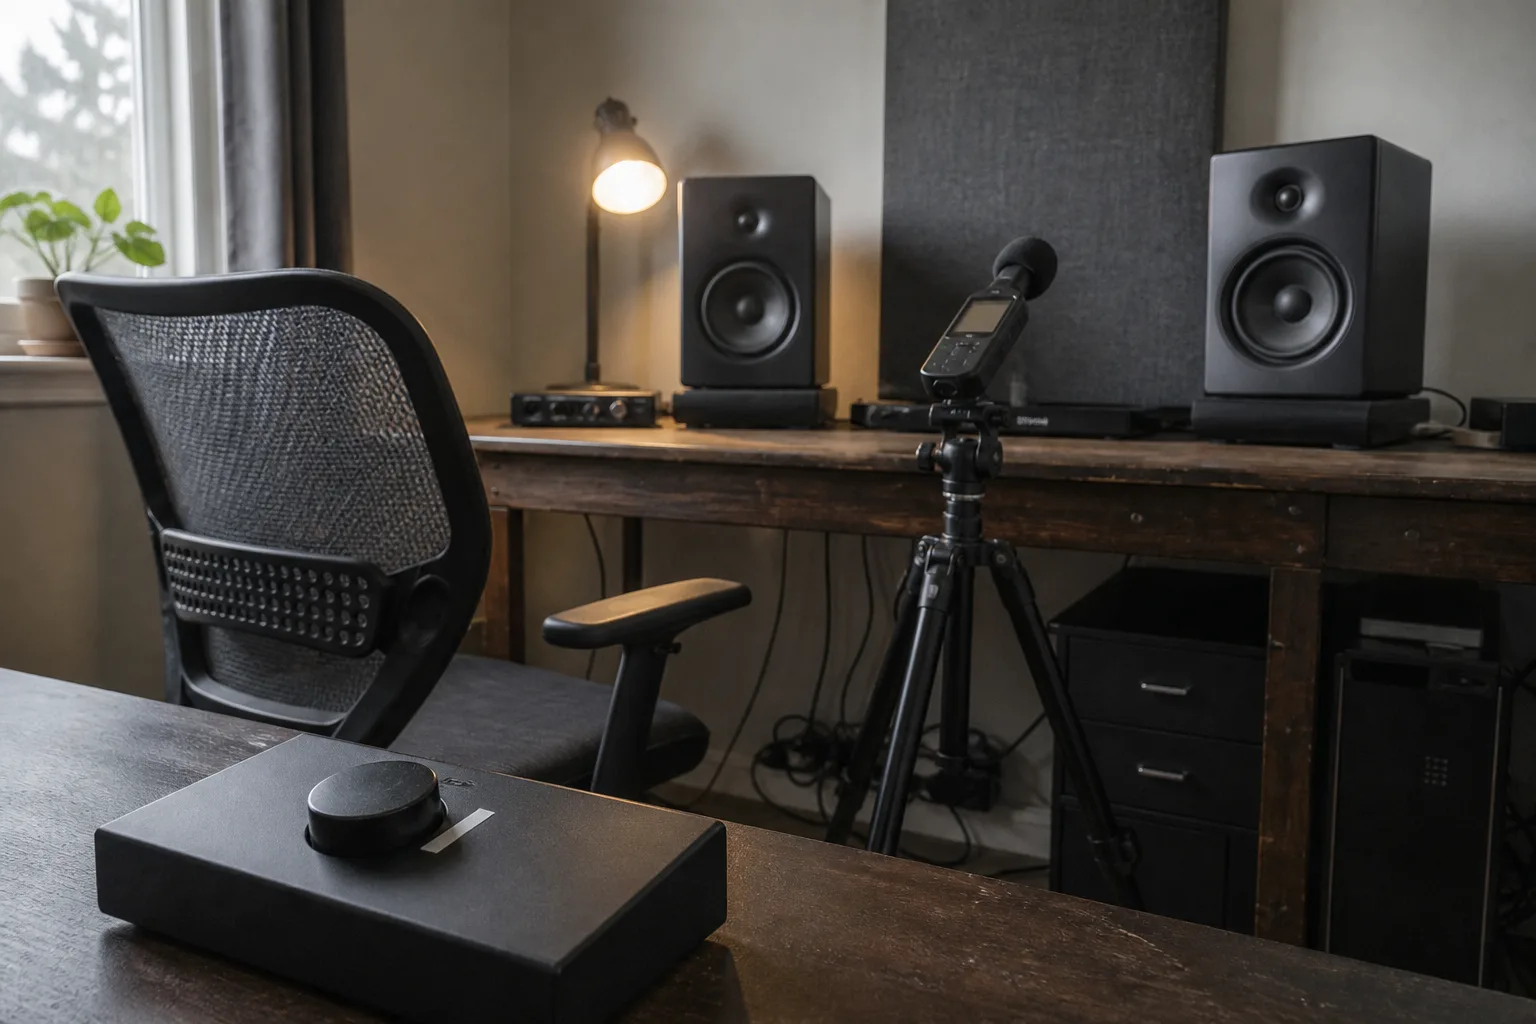
Put a small tape mark beside the knob, save a monitor-controller preset, or write down the repeatable setting. The mark matters more than chasing a theoretically perfect number. Its purpose is to bring you back to the same decision environment tomorrow.
5. Keep the source path consistent
When possible, keep the DAW master output, interface setting, monitor gain, listening position, and speaker placement unchanged. A reference mark is useful only when the rest of the playback chain remains predictable.
Give three listening levels three different jobs
Do not ask every playback level to answer the same question.
Quiet check: what survives?
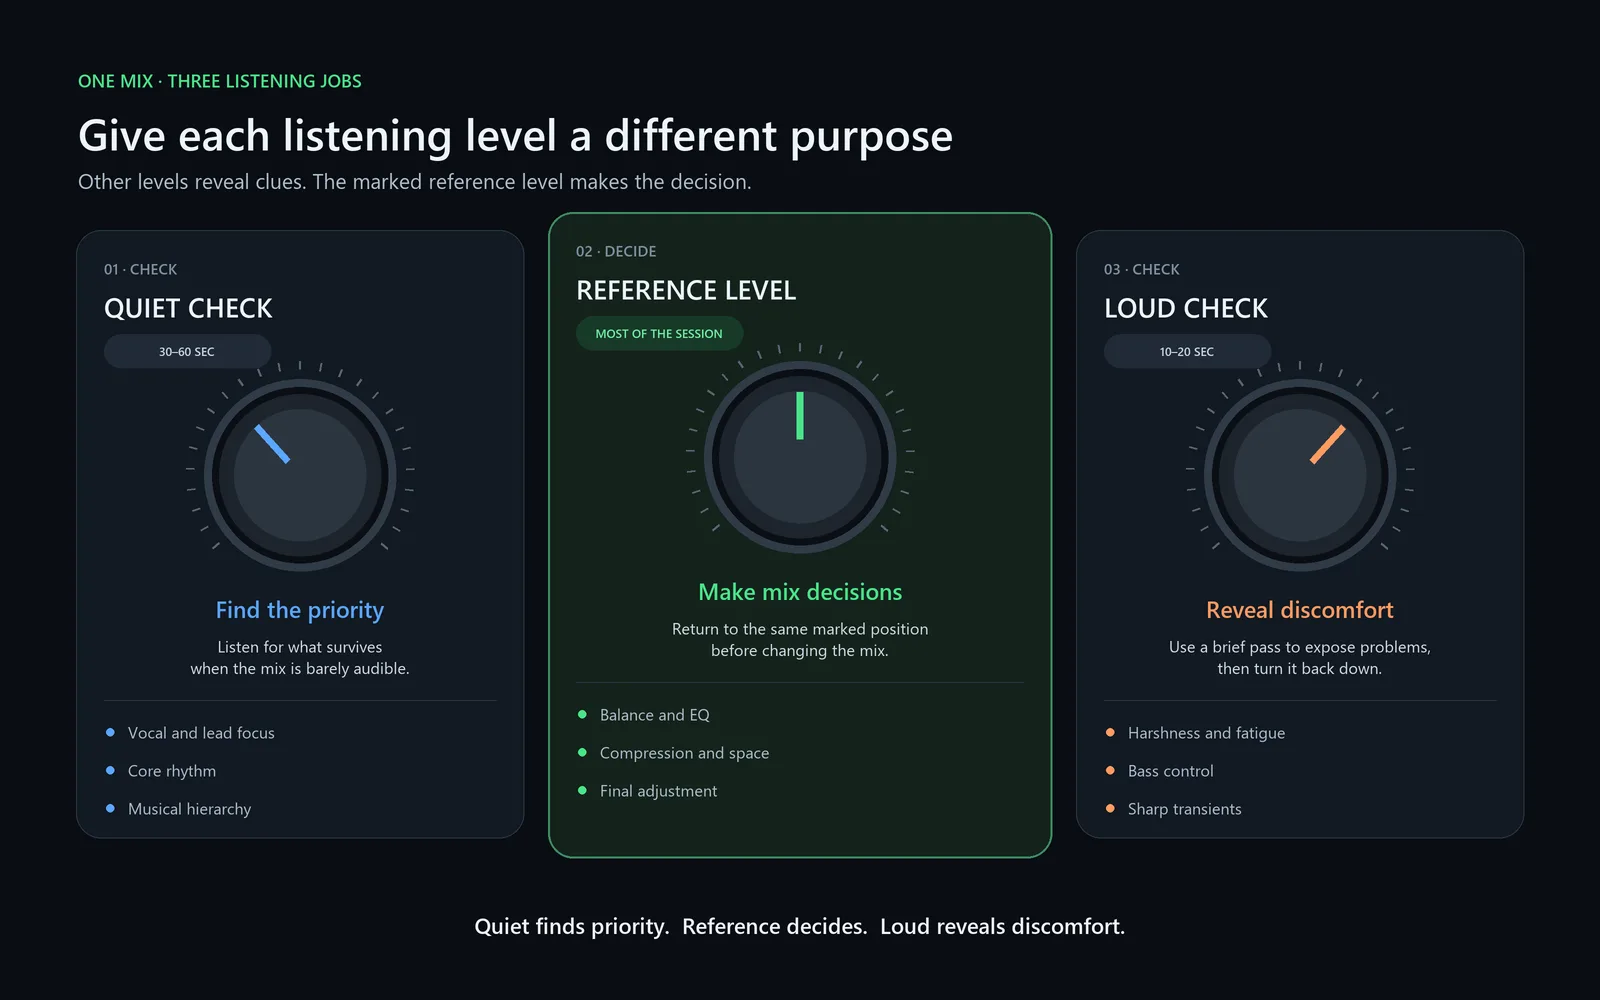
Listen quietly for about 30–60 seconds. Do not judge sub-bass extension or fine high-frequency tone here. Instead, ask:
- Can you still follow the vocal or lead instrument?
- Does the groove survive?
- Are the kick, snare, and bass roles understandable?
- Does an unimportant layer dominate the song?
Quiet playback is excellent for checking musical hierarchy. If the main idea disappears but a decorative part remains obvious, the problem may involve arrangement, masking, automation, or level—not simply EQ.
Reference level: make the decisions
Spend most of the session at the marked reference level. This is where you decide whether to change EQ, compression, vocal level, bass balance, effects, or stereo placement.
Consistency does not guarantee a good mix, but it removes one moving variable. That makes comparisons between versions more meaningful and helps your ears build a reliable memory of the room and speakers.
Loud check: what becomes uncomfortable?
Use a louder level for only 10–20 seconds. Ask whether vocal presence becomes painful, cymbals turn brittle, the low end loses control, or limiting makes the chorus feel small and tiring.
This is a stress test, not a working level. Return to the reference mark before deciding what to change. Long or repeated loud monitoring also increases hearing risk. NIOSH guidance treats exposure as a combination of level and duration and recommends substantially shorter exposure as sound level rises.
The final rule before touching EQ
Suppose the kick seems to disappear during the quiet check. That is useful information, but it is not yet proof that the kick needs more low end.
First, compare a familiar reference at a similar perceived loudness. Does its kick also become less impressive when played quietly? If it does, you may simply be hearing the normal effect of low-level playback.
Next, return to the marked reference level. If your kick still lacks definition there, make a small adjustment. You might change the relationship between kick and bass, reduce masking, refine the envelope, or use a modest EQ move. If the problem disappears at the reference level, leave the mix alone.
The same process works for harshness discovered during a loud check. Compare, return, and then decide.
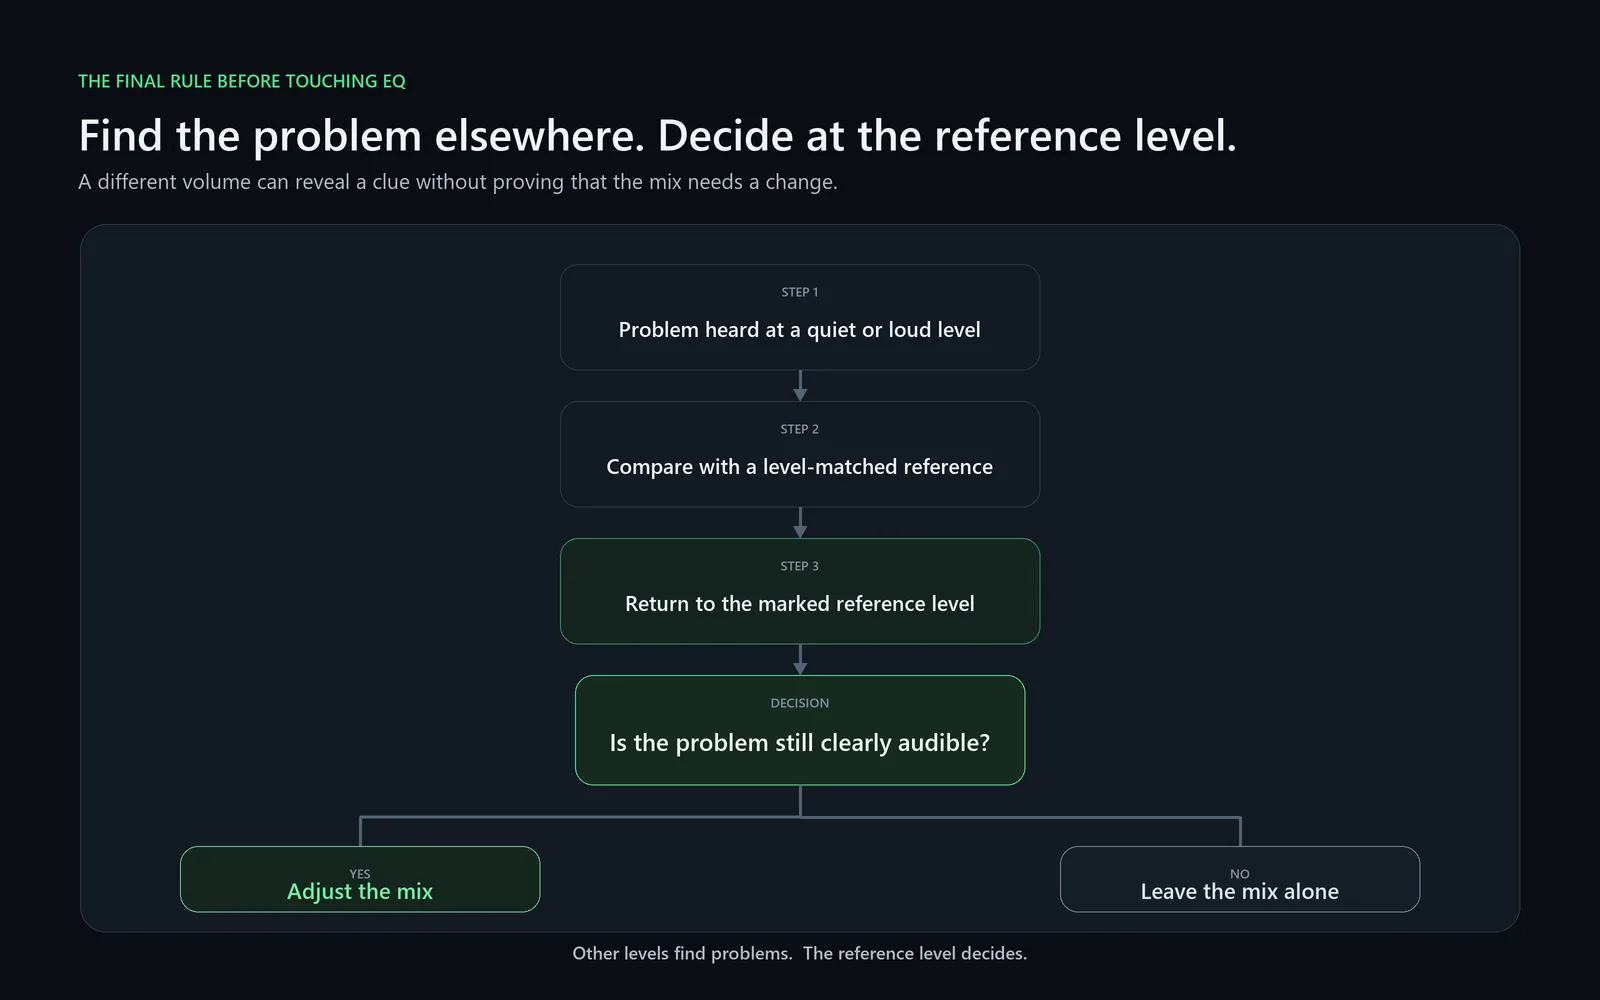
This small pause prevents a large amount of unnecessary processing:
- Notice the problem at another volume.
- Compare a level-matched reference.
- Return to your marked reference level.
- Change the mix only if the problem is still audible.
Check the playback system before blaming the mix
A volume-dependent impression is not always caused by hearing alone. Channel level differences, reversed polarity, an unstable center image, speaker mismatch, or room resonances can also confuse the judgment.
If the vocal moves away from the center, one speaker sounds thinner, or bass changes dramatically with small head movements, verify the playback system before rebuilding the mix. Otherwise, you may compensate for a room or speaker problem inside the audio file.
Optional tools for a more repeatable check
You do not need a special tool to use this method. A familiar reference track, one volume control, and a simple mark are enough.
If you want a more organized comparison, SolAudioLab Reference Tracks provides official-source reference selections, focused listening purposes, and A–B loop tools. Match perceived loudness yourself before comparing your mix with a reference.
If the stereo image or speaker balance seems unreliable, Speaker System Check provides guided checks for left and right channels, mono center focus, polarity, speaker matching, and low-frequency rattles. These tools support the listening decision; they do not replace it.
Should you always mix at 85 dB SPL?
No. The familiar 85 dB SPL figure comes from specific calibrated monitoring practices, especially cinema and broadcast-related environments. It is not a universal requirement for a small room, nearfield speakers, headphones, or a long music-mixing session.
EBU Tech 3343 describes defined listening-level procedures for broadcast production, while Genelec documents several calibration contexts and notes that music production does not have one standardized listening level. For many small nearfield rooms, a lower comfortable reference is more practical.
The best reference level is not the loudest level at which the mix sounds exciting. It is the repeatable level at which you can make stable decisions without quickly becoming tired.
What about headphones?
The same perceptual principle applies: changing headphone level changes the balance you perceive. The difficulty is that a headphone volume number is not an absolute acoustic measurement. Different headphones, interfaces, amplifiers, and ear coupling can produce very different levels at the same displayed setting.
Choose a comfortable repeatable position, keep the signal path consistent, and use louder checks briefly. Do not assume that “50% volume” means the same sound pressure on another device.
The practical conclusion
Changing the playback level is useful because it reveals different weaknesses. Quiet playback shows whether the musical priorities survive. A brief loud check exposes aggression, congestion, and fatigue. Neither should become a new moving target for your EQ.
Set one comfortable reference level. Mark it. Make most decisions there. When another level reveals a problem, compare a familiar reference and return to the mark before changing the mix.
The volume knob is a diagnostic tool. The reference mark is the decision point.